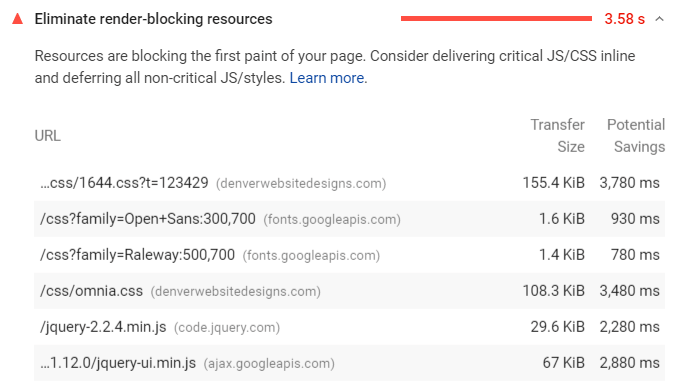
If you ever test your WordPress website through Google PageSpeed Insights, you must have received the suggestion to eliminate render-blocking resources on your WordPress website. This unfamiliar issue is responsible for slowing your website. And we all know that a slow website can not only affect the user’s experience but your rankings as well. A slow website will appear much lower in the search results and can affect your overall business.
Common issues like excessive content, unoptimized images, lack of caching, insufficient hosting, and poor page performances can be identified and resolved easily. But render-blocking issues can often go undetected and affect your website’s performance. In this guide, we will look at some ways to eliminate render-blocking resources and restore the speed and performance of your website.
What Are Render Blocking Resources?

Render blocking resources are codes that are embedded into the website files. These resources are mostly found in CSS and JavaScript codes. Render blocking codes prevent the website from loading quickly. Since these resources take a long time to load and process, they can make the site load slower and decrease its speed. The good news is these render-blocking resources can be removed or even delayed to restore the website’s speed and performance.
CSS and JavaScript are essential in a website, and they are great as well. Without CSS, the website would have no style, it will just be a plain text of code. Without JavaScript, you won’t be able to add any engaging or dynamic content or elements to your website. Although, if the user does not execute these two codes optimally, they can be dented and affect the overall performance of your website.
When a page is loaded by the browser, it goes through all the HTML code of the web page before displaying the final screen to the visitor. When the browser comes across a link to a CSS file, inline script, or JavaScript file, the HTML parsing is paused for a while to fetch and execute the code. This slows the whole process of loading down.
If after taking multiple steps to optimize your WordPress site, you still experience problems with the loading speed, it can be due to the render-blocking resources. Sometimes loading the CSS code and other elements can take up a lot of time which in turn affects your site’s performance. By removing render-blocking javascript in WordPress, you can make your site faster and increase its performance. Let’s look at some ways to eliminate the render-blocking resources
How Can You Eliminate Render-Blocking Resources On WordPress Websites?
To eliminate render-blocking resources you first need to understand that all CSS and JavaScript files are not render-blocking. Some codes are used to enhance the user experience on your website. If you get rid of all the CSS and JavaScript files, your website will get plain and dull. Thus, you should follow these steps to identify and eliminate the render-blocking resources.
Identify The Render Blocking Resources

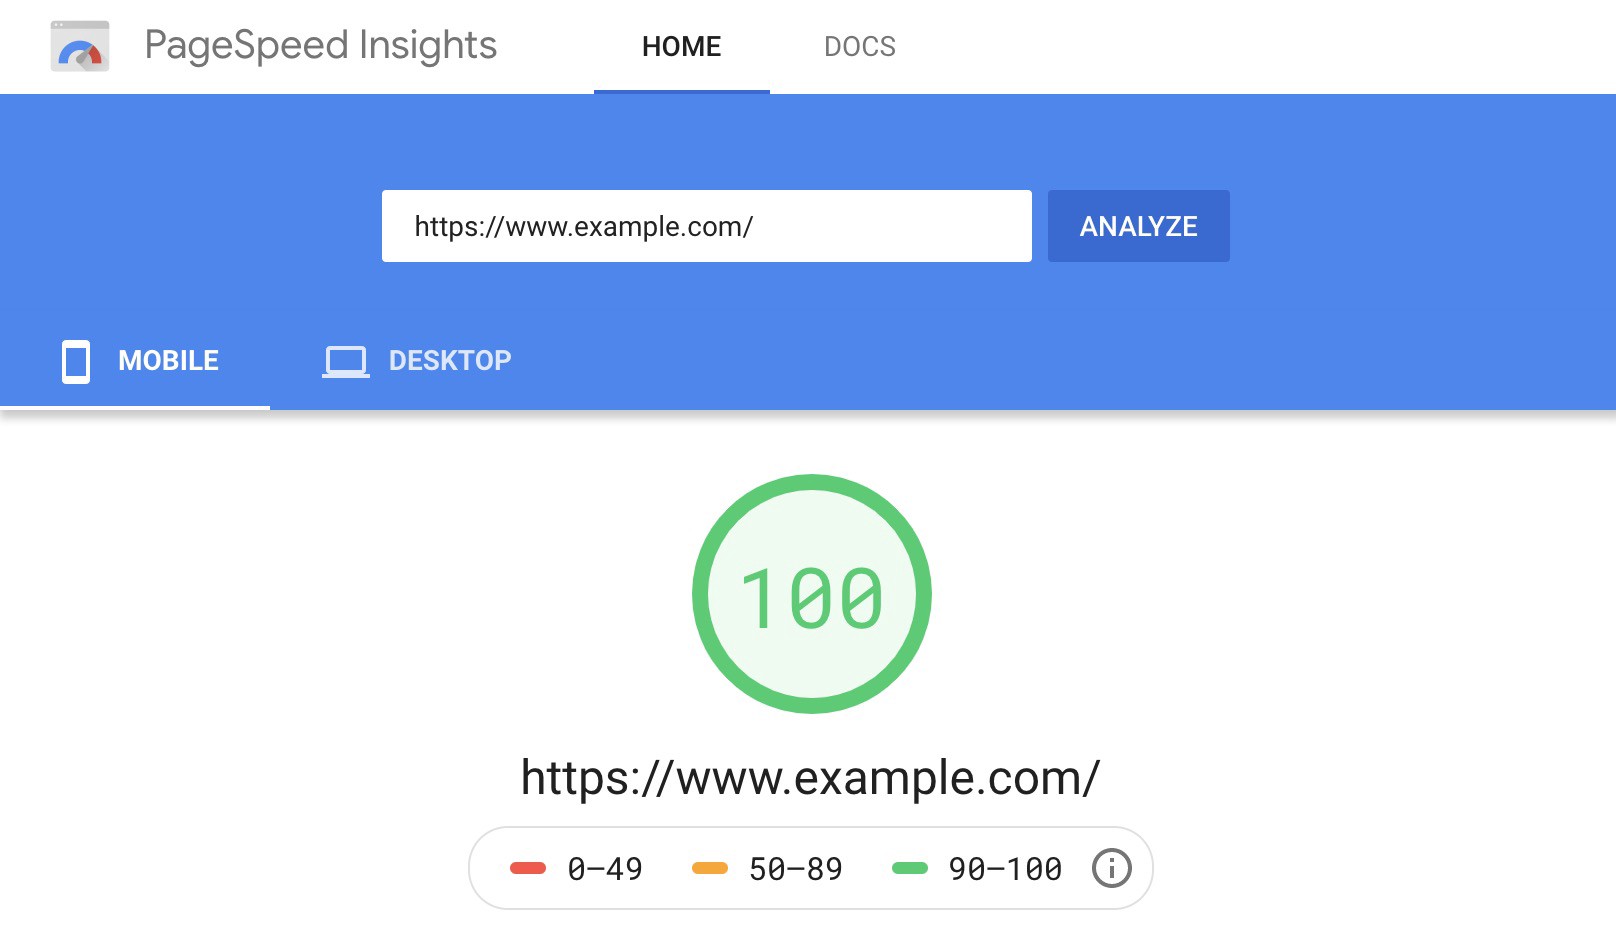
To identify if your website has render-blocking resources, you can use tools like Google PageSpeed Insights. This is among the best ways to identify and render blocking resources on your site. Using this tool is extremely simple. You just go to the free online speed test and paste your website’s URL in the given box and click on analyze.
The website will be thoroughly scanned and once it is completed, your website will get a score that is based on the speed of your website.
- The score from 0 to 50 indicates a slow website
- A score from the 50 to 80 range indicates an average speed.
- And the score from 80 to 100 indicates that your website is fast.
If your website is fast and has a good performance, it will be ranked in the upper category. After the test displays scores, it will also give you a couple of suggestions to improve your website’s speed and performance. You just scroll down on your test and look for suggestions. Once you scroll down, you will find a section named opportunities. Open this section and go to the eliminate render-blocking resources section.
This section will display a list of files that are responsible for slowing your website down and are affecting the performance negatively. These files affect the loading speed of your website and they are fetched by the browser that is causing a delay in your initial page load. These files are also referred to as above-the-fold content. Once you have the list, you should look for all the files that are marked with the extensions .css and.js, these are the files you are supposed to eliminate to give your site a performance boost.
Eliminate Render-Blocking Resources With A Plugin Or Manually
Once you have identified the render-blocking resources on your website it is now time to eliminate them. Thankfully, these tasks can be done in more than one way. You can take the help of plugins to eliminate render-blocking resources, or you can do it manually. Although there are several plugins that can help you achieve these tasks, the most effective ones are Auto[time and W3 Total Cache. This is why we will be looking at specific methods that can be used to eliminate the render-blocking resources using these two plugins.
How Can You Eliminate Render-Blocking Resources With Autoptimize Plugin?

The Autoptimize plugin is free of cost that can be used to modify the files of the website and can deliver fast performance. This plugin is used for many purposes including minifying the code, reducing the size of the file, to delay the loading of the render-blocking resources. When you are modifying the backend code of your website, make sure to be aware while using the Autoptimize plugin. You can use this plugin to eliminate render-blocking javascript and CSS with the following steps:
- First, install the Autoptimize plugin and activate it.
- Go to the WordPress dashboard from your website, visit settings and then click on Autoptimize.
- Go to the JavaScrip options and check the box that can be found next to the Optimize JavaScript code.
- Find the Aggregate JS-files box, and uncheck it.
- Next, go to the CSS options and check the box next to the option OPtimize CSS code.
- Again find the Aggregate CSS-files box and uncheck it.
- Once this is done, make your way to the button of the page and click on save changes and empty cache.
- After you have activated the plugin and done all these settings. Once again check your website using the PageSpeed Insights tools and see if there is any improvement.
- If you still find the eliminate render-blocking resources suggestion. Go back to settings and check the boxes next to aggregate JS files and aggregate CSS files. Save the changes, empty the cache, and scan your website again.
How Can You Eliminate Render-Blocking Resources With W3 Total Cache Plugin?

W3 Total Cache is a widely accepted plugin. This plugin is used to optimize slow websites and boost their performance. Using this plugin for this purpose is an easy task and can be achieved within minutes. Follow these steps to eliminate render-blocking resources using the W3 Total Cache plugin.
Steps To Eliminate Render-Blocking Resources With W3 Cache
- Start by installing and activating the W3 Total Cache Plugin.
- Once you have activated the plugin, a performance option will be added to the WordPress dashboard menu. Make your way to this performance option and go to general settings.
- Open the minify section and check the box that is next to it. Once that is done, set the minify mode to manual.
- Scroll to the bottom of the minify section and save settings by clicking save all.
- Once again go to the performance section and then minify.
- Now make way to the JS section and make sure that the enable box is checked. Then go to operations in areas, open the teardrop menu, and choose the non-blocking option using “defer”.
- Next, go to the JS file management and select the active theme from the menu.
- Now, you should check the result from the Page Speed Insight test and add a script to each item under the eliminate render-blocking resources. Once this is done, copy the URL of the JavaScript resource and paste it into the File URI box.
- Once this is done, click on save settings that can be found at the bottom of the section.
- Go to the CSS section and check the box that is located next to CSS minify settings. Set the method to combine and minify.
- In the CSS file management choose your active theme from the menu.
- Repeat step 8 and add a style sheet for every item under eliminating render-blocking resources. Then, copy the URL of the CSS resource from the PageSpeed test and paste it into the File URL box.
- Click on save settings at the bottom of the page
- And scan your website again for improved performance.
How Can You Eliminate Render-Blocking Resources Manually?
You can use these plugins to handle your backend work, but using plugins will create an unnecessary burden on the server. And you are trying to reduce the burden of added files. Thus, if you want to optimize your website and eliminate render-blocking resources optimally, you can address this issue manually. This is going to be a bit tough, but if you have set your mind, you can achieve it.
To manually eliminate the render-blocking resources. First, you will need to locate the script tags on your website. These script tags are the ones that tell the browser to load and execute the script. The problem is that this can add time to your loading making your website slower. To resolve this issue you can simply add the async or the defer attribute to your script tags. These attributes have a similar effect on the load time. However, they tell the browser to perform a different function. The async attribute tells the browser to load the JavaScript resource while parsing the rest of the page. Defer attribute is loaded when the page is parsed. This is why you should make sure to not use these two attributes together on the same resource.
Scan Your Website Again
Once you have made the necessary changes in the website code, you should conduct a final scan of the website to analyze if the changes affect your website’s speed and score in any way. If you find the score has been significantly improved, then render-blocking resources were the ones that were causing your website to be slow.
However, if you find a minor or no change in your website score, then the issue might have been something else. To increase the speed of your website, you can refer to our article Improve page loading speed in 2 minutes: Simple Guide (latest edition). In this guide, we touch on every possible issue that can be responsible for your slow website and help you with ways to fix them quickly.
Test The Website For Bugs
After you have scanned your website for improvement. You should also ensure that your site is working just fine. Pay attention to these questions,
- Are all the elements displayed on the site correctly?
- Is the site loading accurately?
- Are some web pages broken?
If you find any issues with your website after implementing these changes, quickly undo them and troubleshoot your website to find the issue. If your site is not being restored after several attempts, then there may be a problem with other aspects. Look for a quick fix and try other ways to speed up your WordPress website. Refrain from trying to use your own method repeatedly, as it can break your site.
Also Read – How to Speed Up Your WordPress Site (Ultimate 2021 Guide)